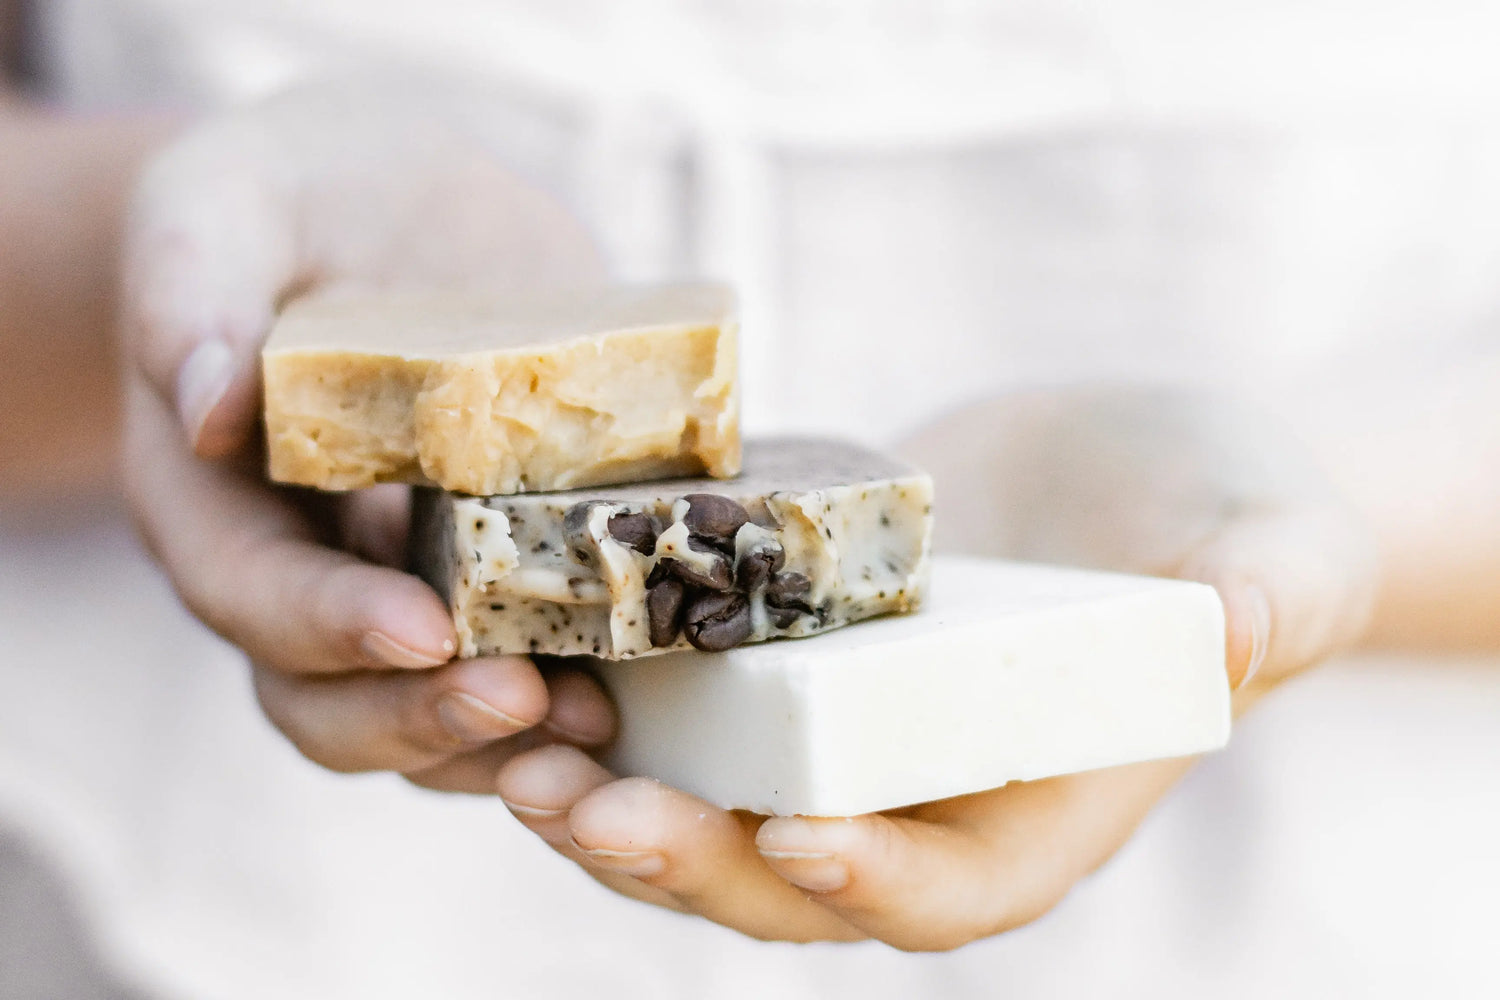
HOMEMADE SOAP
The joys of homemade soap include the freedom of creativity, customized scents, and smiles from those you share with! However, before you decide to go make your next handmade Christmas gift, it might be a good idea to find out which soap method is best for you! Our P&J Family compiled all our information together to give you an ultimate guide for soap making tips and tricks. Read below to learn about each process and a few tips to go along with it!
WHAT IS MELT & POUR
Melt & Pour soap is our favorite method as it is the easiest and fastest process. It is a simple step-by-step consisting of melting the soap base, adding a specific fragrance and dye, and letting it harden in a mold. The bases are a combination of glycerin, fatty acids, and other natural ingredients. Melt and pour bases are developed through the saponification process which involves combining alkali or lye and fats. Thus, you do not have to worry about saponification or adding fats and lye when working with melt and pour.
PROS
- The quickest and easiest soap making method; also safe for kids due to no lye.
- Holds scent well and gives off a beautiful aroma.
- Do not have to worry if a fragrance will poorly interact with the pH level.
TIPS
- If you are layering melt and pour soap, make sure the base layers are cooled to 125° F before pouring the next layer. We recommend an infrared thermometer.
- Spraying rubbing alcohol after the soap is poured helps rid the resting soap from excessive air bubbles.
- Wait until the temperature of the soap base reaches 140° F until you add your fragrance or dye and make sure it is fully mixed in before you pour into a mold.
WHAT IS COLD PROCESS SOAP
Cold process is another common method for creating homemade soaps. It is developed through mixing oils and sodium hydroxide lye which causes the saponification. Through this chemical reaction, you are able to choose which scents, colorants, oil and any other ingredients. It is the ideal way to customize your soap and your design.
PROS
- Freedom to choose what you want in soap like natural ingredients such as goat milk, flowers, and herbs.
- As CPS cures, the fragrance intensifies and holds well throughout its shelf life.
- Able to alter the trace of cold process for various designs like swirls or peaks.
TIPS
- Unfortunately, with a customizable opportunity, more difficulty can come.
- We found this out, but were fortunate to come across another great guide!
- Instead of taking these tips for ourselves, we love to share other’s work… here is an article that helps troubleshooting with cold process: What’s Wrong with My Soap
WHAT IS HOT PROCESS SOAP
Similarly to the cold process, lye and hot oils are mixed together to start the saponification procedure in the hot process. However, in a hot process, the mixture is placed into a heat using a crock pot or double boiler. The additional heat speeds the saponification and cooks the soap before it is placed into a mold.
PROS
- Heating method drastically cuts down the cure or wait time of the soap.
- Since additives and fragrances are placed in after the soap is cooked, they do not come in contact with lye. This means the fragrance tends to have a stronger aroma and the additives hold better.
- There is no seizing, cracking, or soap ash as the scent is added after the saponification process.
TIPS
- Make sure to add fragrance when the soap is under 180ºF so that the scent holds well and does not evaporate into the air.
- If your soap begins to separate after the trace phase and starts to spill out of the crock pot, turn off the heat or set to low and begin to stir until it stops.
- Don’t stir unless you have to (if it begins to rise over the crock pot). Stirring allows all the moisture to escape. Make sure to keep the heat on low if you choose not to stir.
WHAT IS FRENCH MILLED SOAP
A less common soap making method is known as French milled. Also called triple-milled, was developed in the 1800s and is now perfected into a luxurious experience. This process typically involves a factory process of shredding cold-processed soap. Once the soap is completely shredded and melted with a consistency of oatmeal, it starts to cool. As it cools, the soap is brought through three heavy-duty rollers as it refines, homogenizes, and separates the soap. This method of shredding and pressing removes any impurities in the finished soap bar.
PROS
- The soap will have no impurities.
- This method produces a very smooth bar.
- It has a creamy lather and more luxurious feeling than other soaps.
TIPS
- Since you can’t make French milled soap without the factory machinery, you can make hand milled soap with leftover scraps from pure bases.
- We like to use a food processor to turn the soap bases into smaller pieces.
- Make sure to add at least 2 tablespoons of liquid when you begin to melt the soap bases together.
Let us know if you have any more questions about soap making in the comments below or reach out to our customer service!
